-
-
-
-
-
-

With a customized Stiles University course, we can provide expert training for your team, on-location. Whether it's programming, operation or maintenance, we want to help you train your personnel to meet your production goals efficiently and effectively.
-

Experience the trusted workforce development training and machinery knowledge you rely on from Stiles University, now at your convenience. With technology changing every day and new methods being developed constantly, Stiles University Online has the latest information and training content available at your fingertips.
-
-
-

Do you want to produce more efficiently? Processes and flows are key. We optimize these together with you, re-organize them and make sure that you reduce your lead time and save costs. This enables you to implement customized manufacturing and achieve your business goals.
-
Industrialized construction is evolving. Automation, robotics and advanced technology are raising the level of productivity, efficiency and precision for builders in North America.
-
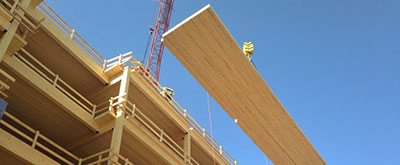
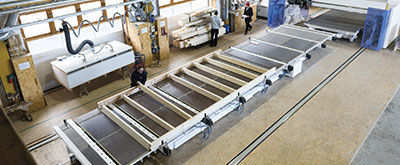
Stiles Machinery is at the forefront of providing technology and machining for producing high quality mass timber. Automated solutions for your mass timber production can increase your manufacturing quality and productivity.
-

Project management services from Stiles make it easy to streamline your entire project— from concept and consultation to integration and implementation.
-


-
-
-
-
-
-
With a customized Stiles University course, we can provide expert training for your team, on-location. Whether it's programming, operation or maintenance, we want to help you train your personnel to meet your production goals efficiently and effectively.
-
Experience the trusted workforce development training and machinery knowledge you rely on from Stiles University, now at your convenience. With technology changing every day and new methods being developed constantly, Stiles University Online has the latest information and training content available at your fingertips.
-
-
-
Do you want to produce more efficiently? Processes and flows are key. We optimize these together with you, re-organize them and make sure that you reduce your lead time and save costs. This enables you to implement customized manufacturing and achieve your business goals.
-
Industrialized construction is evolving. Automation, robotics and advanced technology are raising the level of productivity, efficiency and precision for builders in North America.
-
Stiles Machinery is at the forefront of providing technology and machining for producing high quality mass timber. Automated solutions for your mass timber production can increase your manufacturing quality and productivity.
-
Project management services from Stiles make it easy to streamline your entire project— from concept and consultation to integration and implementation.
-
How to Use a CNC Wood Router for Perfectly Crafted Projects?
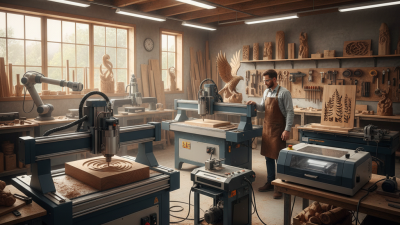
The CNC wood router has revolutionized woodworking, allowing for unparalleled precision and creativity. According to a recent industry report by Technavio, the CNC wood router market is projected to grow by over 21% from 2022 to 2026. This surge indicates increasing adoption by both professionals and hobbyists looking for high-quality craftsmanship in their projects.
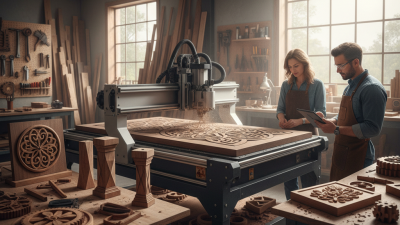
As industry expert Mark Johnson states, "The CNC wood router opens a world of possibilities for detail and design that was previously unattainable." This technology enables woodworkers to create intricate patterns and shapes with ease. However, achieving perfection requires practice and a keen eye for detail. Many users find themselves grappling with the complexities of machine settings and material selection.
While the CNC wood router offers immense potential, mistakes can happen. Incorrect settings may lead to unsatisfactory results, such as rough edges or misaligned cuts. Acknowledging these challenges prepares woodworkers for the learning curve ahead. Embracing both the technology's power and its pitfalls allows for better outcomes and true craftsmanship in every project.
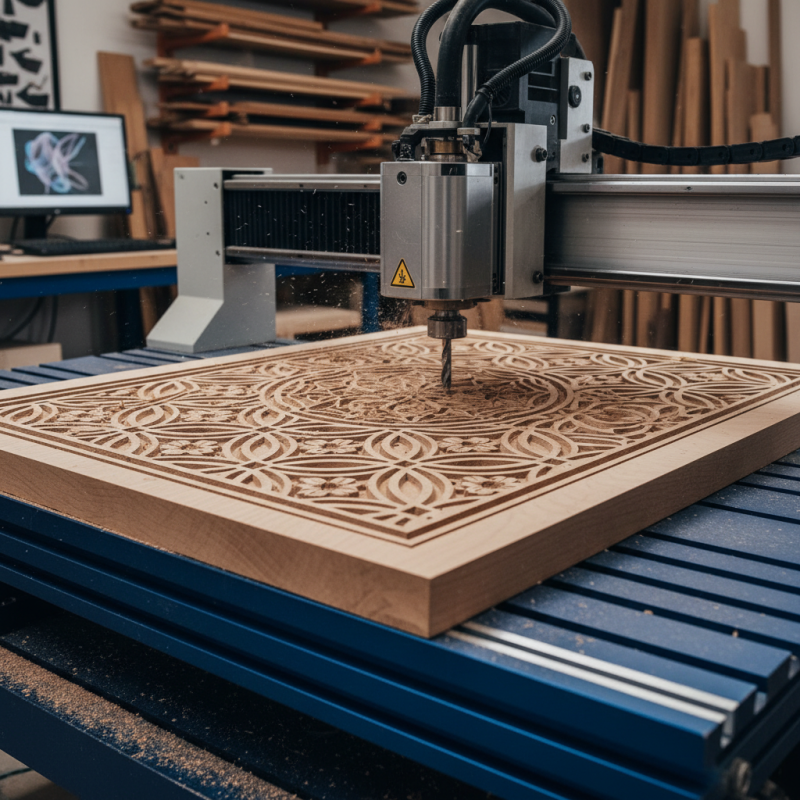
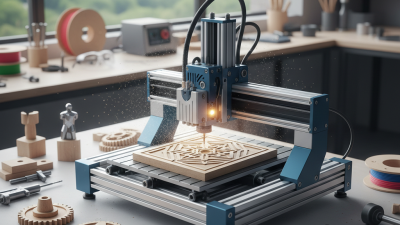
Understanding CNC Wood Routers: Basics and Functionality
CNC wood routers are fascinating tools. They use computer-controlled systems to carve and cut wood with precision. Understanding their functionality is vital for any woodworking enthusiast. These machines operate on a three-axis system: X, Y, and Z. The X and Y axes move the router horizontally, while the Z axis controls the depth of cut. This allows for intricate designs and consistent results.
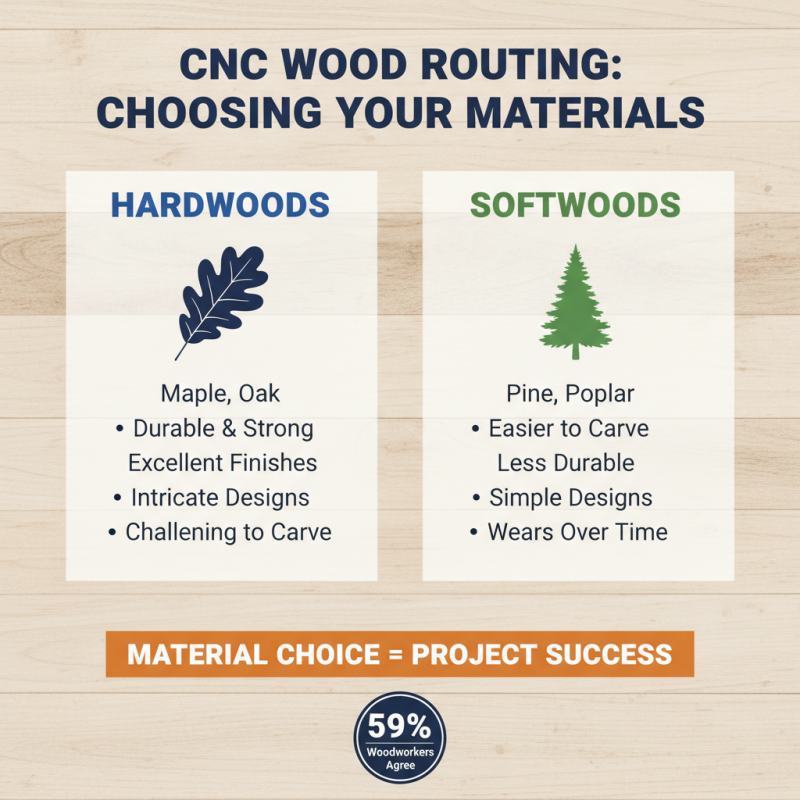
Setting up a CNC wood router requires careful attention. You need to prepare the wood and secure it firmly. An unsteady piece can ruin an entire project. Take your time to input designs accurately. A small mistake in measurements may lead to disappointing outcomes. Experimenting with different speeds and feeds is essential. It’s common to face trial and error when starting. Observing the cuts can teach valuable lessons about bit selection and material properties.
Maintenance is another key aspect. Regularly checking for wear on the bits and the machine can help avoid issues. Failure to do so may result in subpar performance. Learning how to clean and calibrate your CNC router will enhance its lifespan. Patience is crucial during this process. Each project is a stepping stone to improvement, and understanding the little flaws can lead to greater mastery.
Related Posts
-

Unlocking Creativity: How CNC Wood Cutting Machines Transform Custom Furniture Design
-

Exploring the Amazing World of CNC Routers for DIY Enthusiasts
-
Top 5 CNC Router Kits for Ultimate Precision and DIY Projects in 2023
-
How to Choose the Best CNC Router Kit for Your Woodworking Projects
-
Top 10 Wood Carving Machines for Professional and Hobby Use
-
Top Wood CNC Machine Benefits for Your Business and Creative Projects